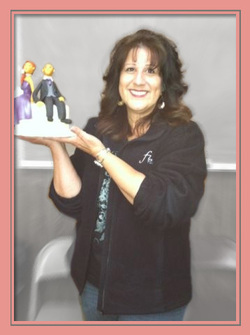
Class 1 involved four 2-hour sessions, each designed to teach us how to bake, level and split a cake, frost it, make buttercream decorations and decorate a cake.
Sounds easy. Well like anything, it takes a lot of practice!
In my last "cake decorating" post I shared my experience with attempting to frost my cake -- well I have finally moved beyond the neanderthal stage and can actually frost a cake a little more smoothly now. I imagine that as time goes by and I frost more cakes, it will become even easier -- oh how I look forward to that day!
In class, we used the practice board and flower nail to learn to make various buttecream flowers and border...
And at the end of class 1, session 2, here is my first "decorated" cake...
I know...kind of bland, huh. As we learned to make flowers and borders, we used white frosting.
Well, my hubby and I aren't eating sugar right now, so I knew that this cake would not be in the house long. I also knew that an anemic looking cake wouldn't be well received, so I took the cake home, scraped off the flowers, colored some icing, and redecorated the cake so I could give it away....
it was a hit.
For just picking up piping bags and learning the difference between a #3 round tip and a #18 star tip, Mary had us moving right along. In week three, she asked us to bring some iced cupcakes, marshmallows with a dot of frosting on the flat end, and pocky sticks...
So what do you make with iced cupcakes, icing dottd marshmallows and Pocky sticks? Clowns...of course!
Mary showed us how to paint the face of the clowns using food coloring, (the dot became the clowns nose). Then Mary had us stripe our frosting and pipe out the body of the clown. The painted clown head was attached to the body, by running a Pocky stick through the body. We then piped on the remaining details and ta-dum, here come the clowns!
Mary also taught us how to pipe bears....
for character cupcakes...
A lot of information had been shared between weeks 1 and 3,so our final session for class 1 seemed like "CAKE" = )
We were asked to bring in an iced cake to decorate in class. Mary reviewed some flower-making techniques wth us and turned us loose. So here it is...cake number 2
So there you have it...Wilton Cake Decorating Class 1 completed. Thank you, Mary!
Everyone in the class did a great job, learned lots, and we can't wait for Class II to begin!


1 comment:
Thank you for providing such a valuable information and thanks for sharing this matter.
Post a Comment